Managing Subscriptions in a WordPress Site.
Subscriptions are a great way to encourage people to consume the content of your site w/o having to come back. You can bring the content to them. We will cover one method with Mail Chimp.
There are multiple plug-ins for MailChimp and subscriptions. If you don't actually need to sell a subscription and have multiple subscription levels, you can skip doing a plug-in. This page has the instructions to create / use a WordPress widget of an embedded MailChimp form.
Prerequisite
1. Sign-up for MailChimp at their web site. MailChimp is free for first 2000 subscribers. Choose that option, unless you need more.
2. Once signed-in, you will be on the MailChimp Dashboard. Under Getting Started, choose the Create a List option.
Create two lists: One list for Testing and one for Production.
a. Enter the something like the following for the test list:
- Name (e.g. WPSubscribeTest)
- Reply Email (e.g. subscribers@sub.mindwatering.net)
- The Reminder body text to include with the introduction e-mail welcoming them. (This should include the fact that they just signed up on your WordPress blog site.)
b. Under Members, add the first Member, your test account. Add a work or personal test e-mail address to the Test list.
3. In the Lists view, click the Dropdown Arrow on the right, click Signup forms.
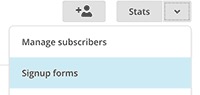
4. To the right of the Embedded forms heading, click the Select button.
a. On this form, you have various style formatting for the form. For this quick tutorial, let's stick with the Classic tab.
Classic - Typical form layout, best when also including other fields like First and Last Name.
Horizontal - Has the Subscribe button beside the Email address field, for a wider presentation for subscribe forms in web site footers.
Super Slim - Has the Subscribe button under the Email address, for a more compact format, like used in web site side-bars.
Naked - Simply indicates there is no styling and you'll have to do your own CSS stylesheet adjustments to customize for your site.
b. For Form option, start with only Show only required fields.. and Show format options... selected.
The preview of the very simple form is on the right.
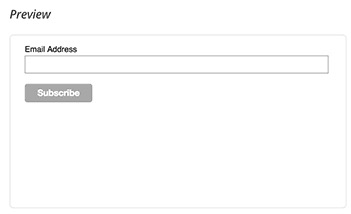
c. Make any customization selections desired. We recommend adding the reCAPTCHA to help prevent spambot sign-ups.
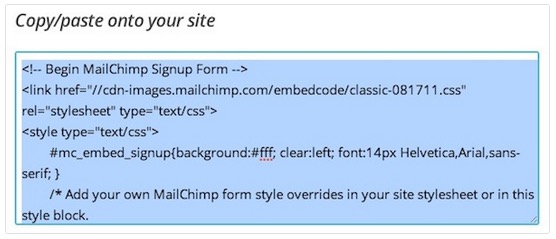
d. Below the preview is the embedded code for that simple form. Select all the text in the embedded code window, and Command-C or Control-C (PC) to copy the code. (Make sure you got it all.)
5. Back in your WordPress admin area, click Appearance --> Widgets in the side menu, to bring up the Widgets page.
a. Choose Sidebar, Text widget, as the widget type to add.
b. Add the Title (e.g. Subscribe to my blog for free.)
c. Below, paste the code you copied from step 4d above with Command-V or Control-V (PC).
d. Once are are done, and saved, drag the widget to the sidebar that will contain the widget.
6. Test using your personal/work testing account.
previous page
|